Wednesday, June 29, 2011

Tough Girl

My monitor pretty much sucks, so a lot of the photos I upload look washed out and there's not much I can do about it until I get a new monitor. (It's not a calibration thing.) Anyway, I haven't had time to check what these photos look like on a normal monitor but I hope they look ok. Until I can fix them these will have to do.

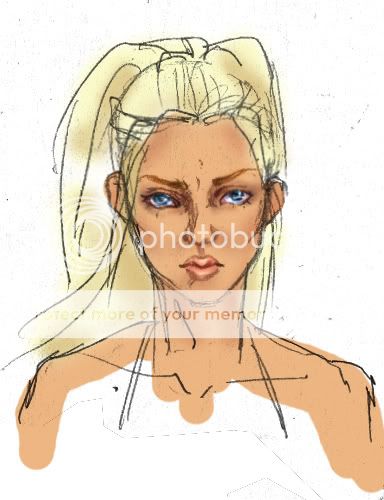
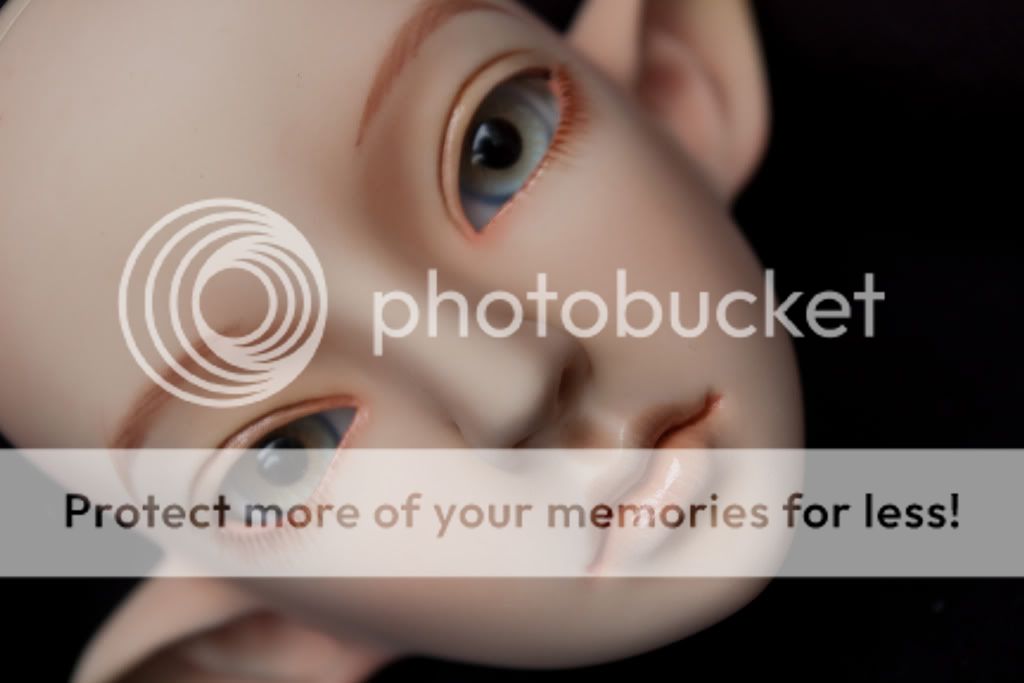
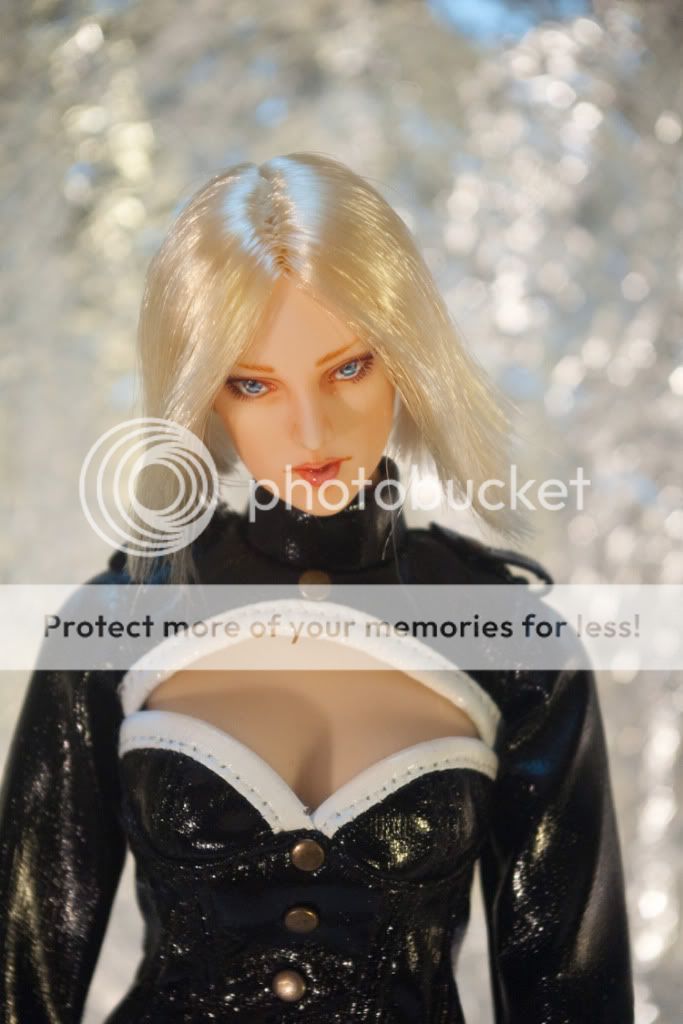
This is my #13 head and I'm calling her Kat. She's another tough chick like Ace, and I finally have a body suitable for them. I decided not to do scarring or a frown on this one so as a result she's not as scary looking but trust me, she can still kick your butt, lol.


Yay! I really like the F03 head type. I've seen it painted really badly though and it's not as popular as a girl. A few ppl have made them into boys but I really like my F03 girls. I'll be doing a decent photo shoot for Ace soon.

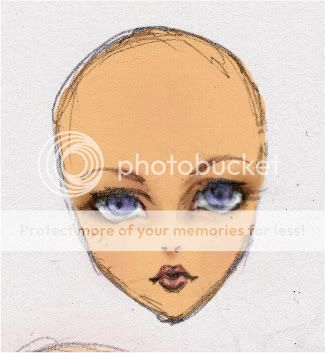
EDIT: Oh, this is the sketch for her. Now you can see that the sketch --> final product usually isn't super similar...mainly due to the sculpt...and in the photos the lips look a lot darker than real life because of the gloss.


And for those interested, I only used a Rekab red sable brush in size 0 for all of the work. I know smaller brushes exist out there but the line weight when using a brush with a good tip on it is as much due to pressure on the tip as well as to brush size. I will eventually try to get a smaller brush since that should help with finer lashes but for now this is working for me.

And one more pic at a more straight on angle.

Tuesday, June 28, 2011

'Nother Biggun'

I'm kind of addicted to the big ones lol. Cause they are a bit easier to paint due to the size and less of an eyestrain. They do take just as much time or longer because of the area I need to cover and the blending for the gradient in the eyes is harder. Still, I really like painting them. She's up for sale on ebay. I think the only big Obitsu head I will keep is Cerise and probably a sleepy version of her.


EDIT: This is the sketch for the head. Just thought you guys might like to see it.

Monday, June 27, 2011

Hydrangeas in June

Get ready for a bunch of posts! The weather's been nice and I've been busy, both with making stuff, hanging out with friends and well, chores. The hydrangea plant my bf gave me bloomed this past week. The color has deepened over the past two years. When I first got the plant, there was only one big bloom and one small bloom on it and the color was a pale pink-periwinkle. The second summer it was still a mix of periwinkle with purples and I didn't really notice that much of a difference in color. This summer, the colors are insane and a lot more intense than I'd expected. I think it might be due to the new layer of soil added.

Here are pics of Charlie (CH Bisou Pepe) enjoying the nice day out. (Oh yeah, I changed the faceup to match Cerise's (Obitsu Gretel) There is a story behind it that you can find here.)


Wednesday, June 15, 2011

Painted Giant Eyes

As you guys have probably figured out, I never really stick with doing only one thing for a super long time. I generally bounce around a little bit but will go back to doing stuff I haven't finished or pick it up again. This time around I tried painting a 60cm painted eye head. These heads only come in an anime style so no realistic heads here. It was fun and I'm happy with how she turned out.

Monday, June 13, 2011

First Doll Meetup!

I went to my first meet yesterday and it was quite nice. I was very apprehensive at first and tried to talk some friends into going with me and being my army lol. I get scared that ppl might be mean or whatnot since my dolls are not done and in their proper clothes or presented the way they should be. Needless to say, my worries were unjustified and I was just being a spaz.

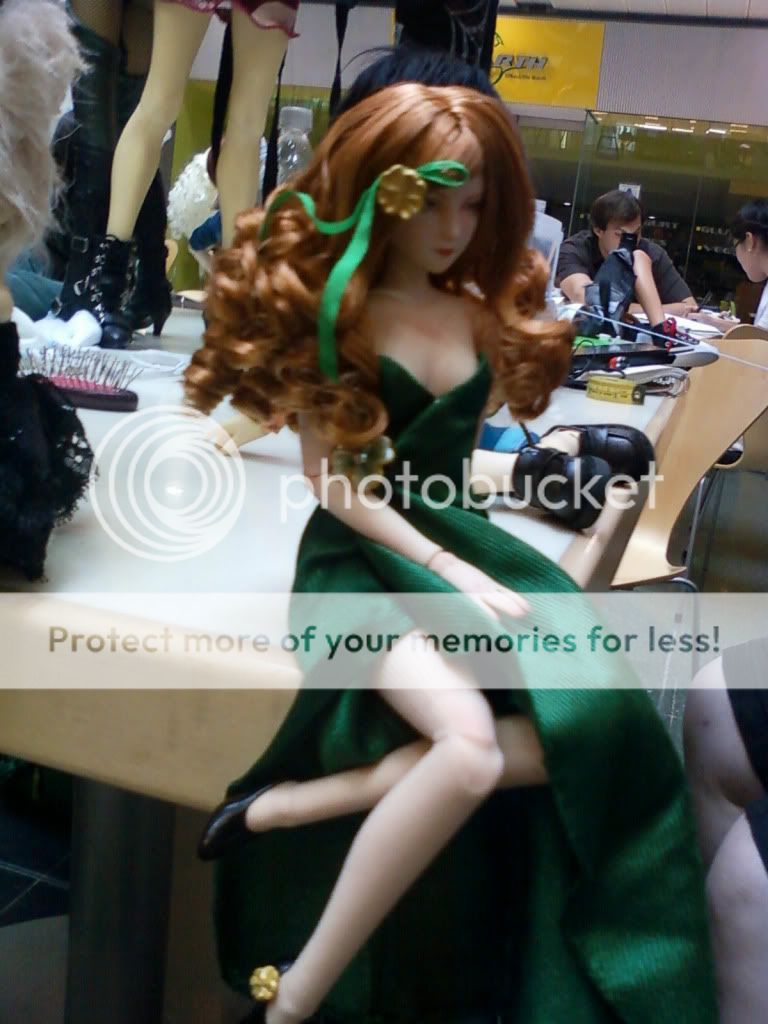
The dollmeet was interesting because I got to see a lot of dolls I would never have been able to otherwise. I handled a few SDs and I really believe the 70cms to be too big for me. I think I am ok up to 60cm but I'm not completely sure yet. Anyway Here are the fabulous dolls that were there. Sorry for the bad photos. I used my phone since I could not justify bringing my bf's expensive camera.

Note: I believe that BBB is actually an Ariel, not a Sprite. Her ears are Ariel ears and I remember her eyes not being as big as the Sprite eyes are.


Look how much bigger Shandel is that Zi'li! Shandel is amazing and seeing one in person makes me want to paint them even more. Surprisingly, as you can see from the photo, her head isn't much bigger than Zi'lis. (Er sorry about Zi'lis hair. She looks good as a blonde but I will get her wig soon.)


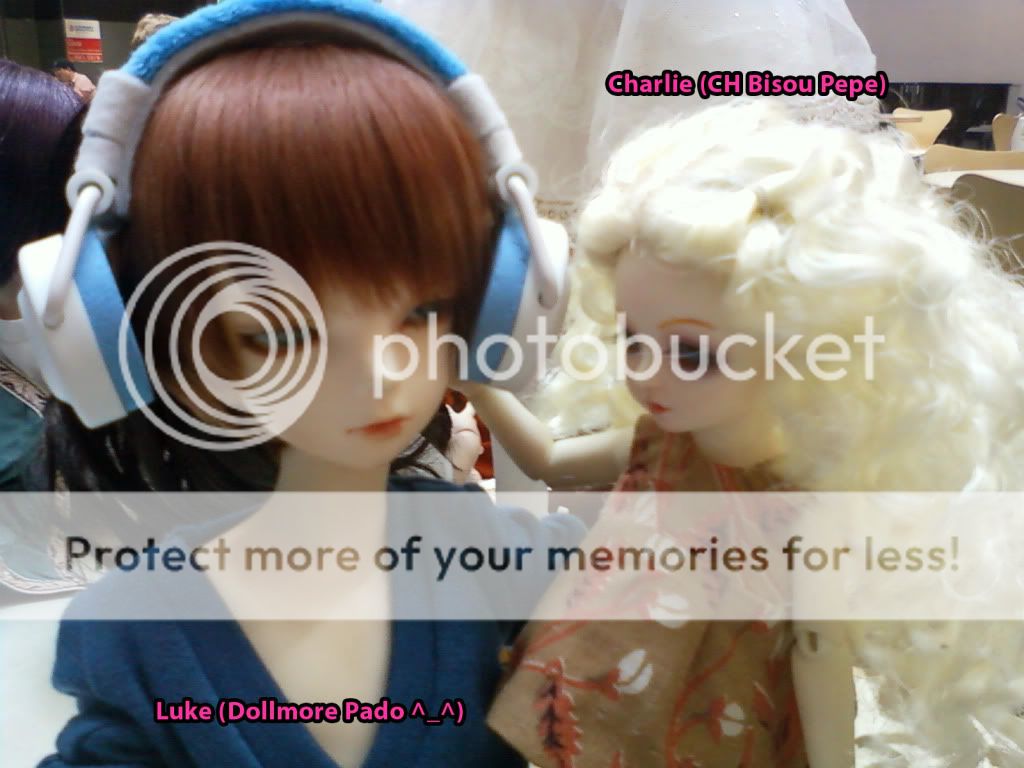
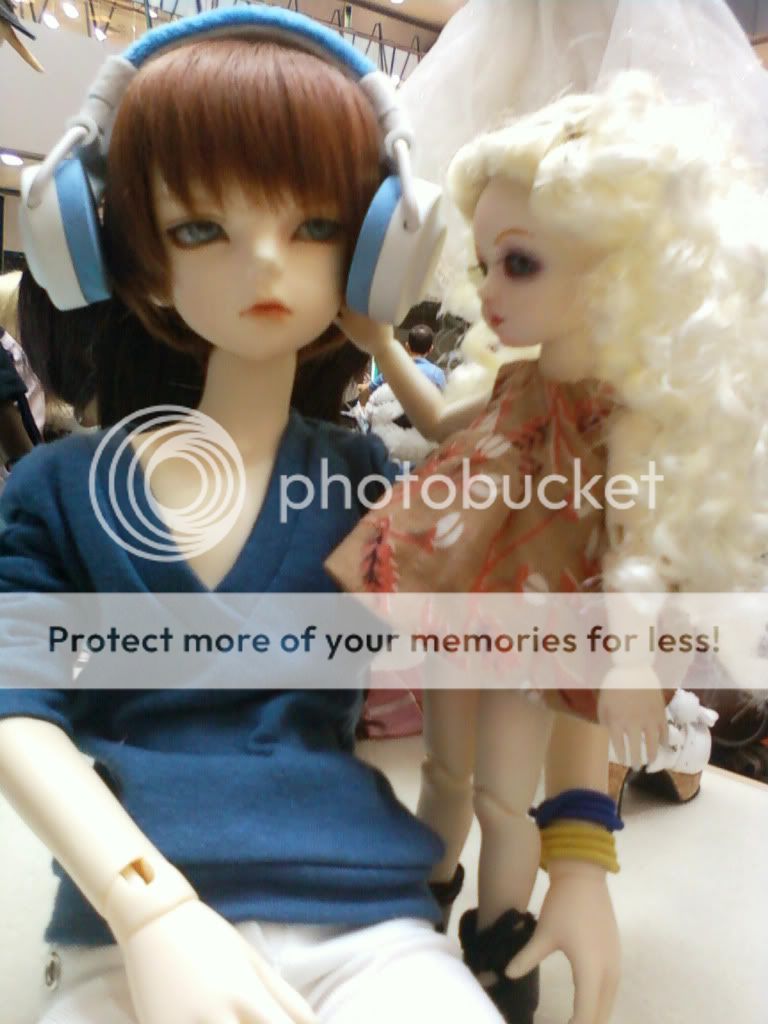
I fell in love with this beautiful Dollmore Kid Pado. He is so much more beautiful in real life than in the product photos from Dollmore. Charlie was quite taken with him and seemed to easily wrap him around her little finger.


My darling Aili looking so beautiful and a little lonely. I am sad to announce that she is in the process of being sold and I will miss her so much. I've had her for so long and she has been one of my favorites. I actually took her around to show her to ppl because I was so happy with her. She was quite well received and I'm glad I at least got to take her around for a day trip before I let her go.


Overall I quite liked the meet. I learned some things including that ZM spray is better on tan skin. We'll see. I only have MSC right now but I will procure some ZM and do a comparison for everyone. The one bad thing that happened is that Oun's headcap got broken. She was knocked around three times and fell flat on her face once. Her face is fine and even though her headcap doesn't show and I can fix it easily it still makes me sad. Me thinks I will keep her seated at meets from now on.

Friday, June 10, 2011

#12

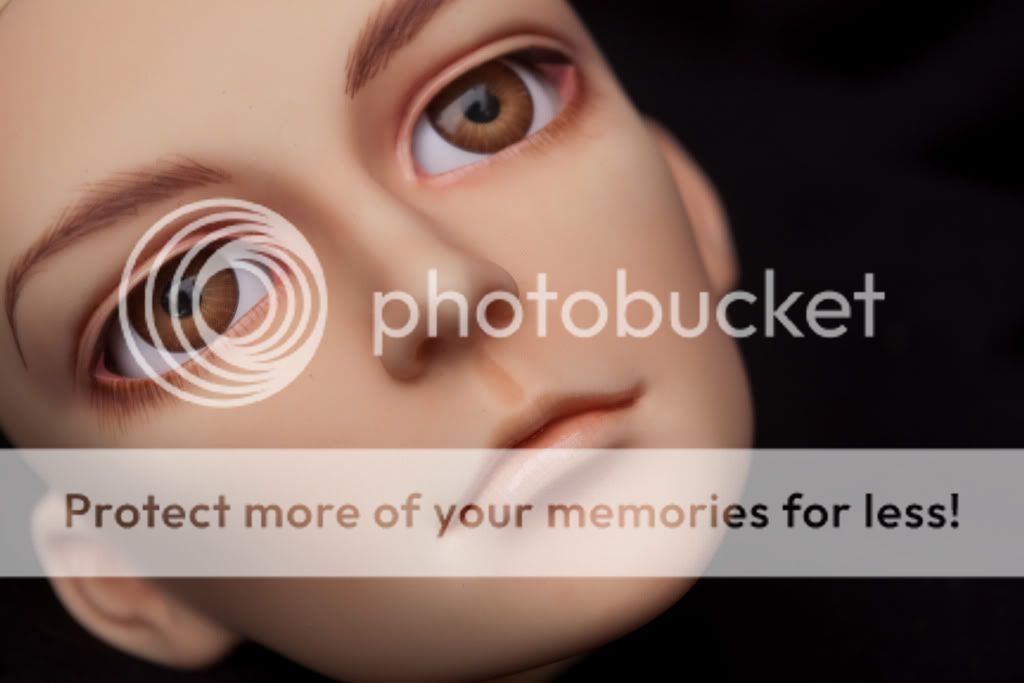
I have a new Obitsu head painted, but honestly I'm not that happy with her. The reason is that I was trying to emulate other artists whose works are popular and in the process while I think the head is good technically, she is sort of soul-less. Anyway this is what she looks like. She is my 12th head using an F02NC03 which is a F27-02 sculpt prerooted with brown hair.


I am looking forward to doing a kickass blonde on an Obitsu F27-03 head soon as well as redoing that one Obitsu male head I did. I'm not satisfied with him so I'm going to wipe him.

I realize I never did a good photo shoot for #11 ACE! The reason is that I still don't have what I feel would be an appropriate body for her. Perhaps I will be able to get it by the end of the summer. We'll see. She's one of my favorites so she's not for sale lol.

Currently working on:

1) Moogle
2) Modding my RS Wu's body
3) Fixing up my Volks Megii
4) Dreaming of clothes for Oun (RS Yao) and Zi'li (RS Li) who I hope to bring to my first Doll Meet in Manhattan!


Monday, June 6, 2011

ResinSoul DJ Girl Body Pelvic Mod for Sitting.


ResinSoul has very nice facial sculpts and I generally like the shape of their bodies though there are a few details I don't like. Since we're only looking at the RS 42cm girl double jointed bodies for now I will focus on that.

Aesthetically I don't like the half melon shape of the bigger bust which you can see on deer hoofed Yao but that is acceptable compared to the fact that these girls can't sit up by themselves. I think it's odd that they didn't bother to fix the sculpt since standing and sitting are the major requirements of BJD posing.

Anyway I've been putting off this mod for a while since I was scared to work with tan resin and leaving a white scar. Fortunately the mod was a lot easier than I expected and with proper sanding, there is no scar. The resin pigment for Light Tan dolls from RS/BBB is distributed throughout the resin.

Tools Used:
1) Pencil
2) Foredom (You can use a dremel or carefully cut with a craft knife.)
3) Respirator! (Very impt. Resin dust is toxic.)
4) Sandpaper in a gradation of grits. (I used 220-800)
5) Water. (Don't dry sand. Wet sand for a smooth finish and to reduce resin dust in the air.)

Process:
1) Figure out how much I want to cut and draw a pencil guideline.
2) Use Dremel/Foredom/Craft knife to get rid of most of the resin to be reduced. Don't go right to the pencil line. If you make a mistake here it would be hard to get rid of the mistake so leave some space here.
3) Wet sand using lowest grit until you reach the pencil line. This makes for a nice smooth even curve which may be hard to get with a knife or even a dremel. Make sure you round the edges a bit so it's not a harsh straight edge.
4) Finish off by wet sanding with higher grit sandpaper until you reach desired smoothness.

So here are the pics. I didn't take any in progress pics since it's pretty boring and self explanatory.

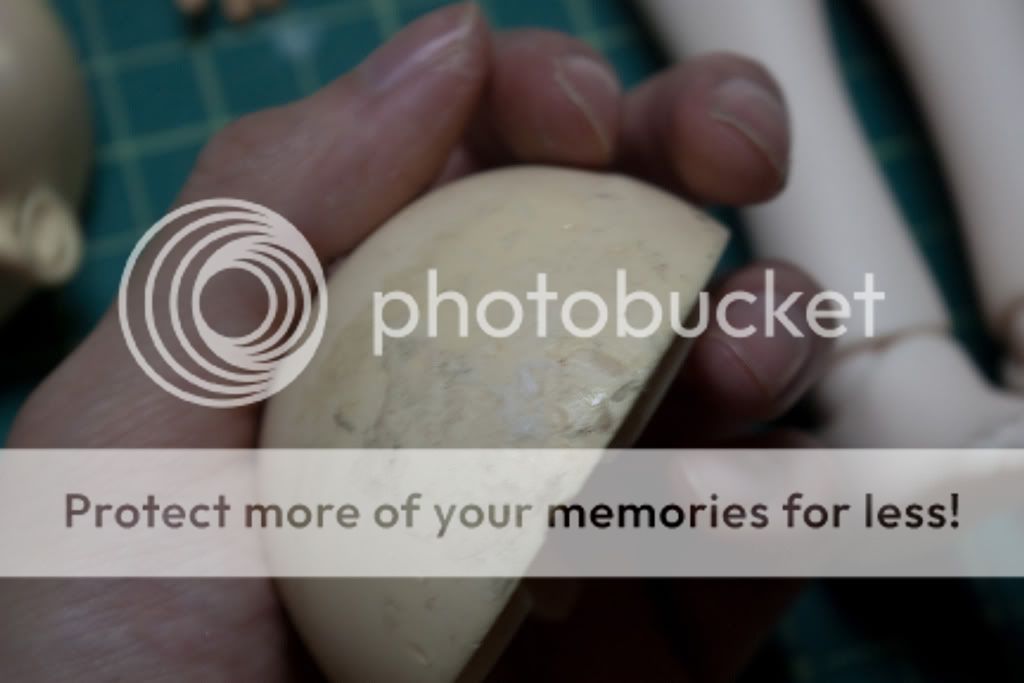
The pencil line I drew on the unmodded pelvis piece and then the modded piece. No scar!


Yao and Li have the same stomach and pelvis pieces. The thigh pieces for Yao are just modified thighs from the normal 42cm double jointed girl bodies so the upper ball area is the same. Yao is unmodded and Li is modded. As you can see the difference isn't very noticeable and they both stand solidly after restringing. I will suede them later just to improve posing. For now they are just restrung and Li is modded.

A closer look at the pelvic area. Li's pelvis piece has slightly higher leg openings.

Li still doesn't sit perfectly. As you can see she leans back a bit. I can mod her hips a bit more so she sits straighter but for now I'm pretty happy she can even sit up on her own. ResinSoul really didn't do a very good job designing the bodies for posing. As you can see the shape of her buttocks and thigh muscles causes the sitting pose to naturally lean backwards.

On the other hand, sitting with a lean is still much better than what Yao can do. She needs to be held to be in any sort of sitting position.

When laying down, Li can hold her legs up at about an 95-100 degree angle. Yao cannot do that at all.

From this angle, you can see what the changes are. With the legs still angled to the body, Li's thighs are pretty much flush with the modded leg openings while the original shape of Yao's pelvis does not allow the legs to bend toward the body. (I am holding Yao's legs.)

Voila! It's a pretty easy mod but any kind of mod scares me before I do it because I don't want to mess up the doll. I do feel more sure of myself now though and if anyone wants their RS pelvis modded, I can add it to the list of commissions I do or you guys can try it yourself! It's really easy.

EDIT: I realize from some questions ppl asked on forums that they are not sure how much to cut. I am adding a picture to illustrate.

1) While doll is still strung, position leg in a sitting position to the body so you can see the amount of gappage. The width of the gap is the same amount of room that is needed for the leg to sit correctly in the pelvis.
2)Using a pencil mark the same gap width above the highest arch of the pelvic cup for the leg.
3) Draw an arc similar to the curve of the leg if it were sitting correctly.

This is how I figured out the curve. I basically did this once and didn't have to remeasure or retrace. when I cut my pelvis and sanded I sanded directly to the line and the leg just fit perfectly. I think this was purely luck, but you can also help luck by being careful! So just prepare yourself well and things should go well!


Sunday, June 5, 2011

Playing catchup.

I need to set a day or two during the week to be my blog days. I have been working on things but I don't post them here. My bf sees the pics I take of my dolls for ebay and wonders why I don't post them. I guess the reason is that I forget ppl might like to see pretty pic spams lol. Neway I will do some posts of the two CH dolls I customized and sold as well as a new Obitsu head. For now I wanted to show my own dolls with some new faceups.

I've had these guys since March 8th but I was afraid to do their faceups because they were tan dolls and because I dunno..I was just scared. The first time I tried was a month ago but it had been raining so much that the MSC frosted like crazy and then I got scared for a month again. My RS Dark Tan Wu is still suffering from frosted MSC stuck in the lip line but my two Light Tan girls have their faces on.


There is still a slight difference in color between the MSCed head and the bare body but that is to be expected as having a matt texture immediately means there will be very slight frosting. It's similar to matt frosted glass vs shiny clear glass. Here's what her head looks like on her body. Currently my Li (Zili) is disassembled to mod her hips so she sits better. I'll post on that so you guys can see how to do it.


And last but not least, my floating male SD head.


I think he looks better this time around. A lot more natural. I think this might be my last forced natural faceup run. I am quite happy with the looks on these three heads so I will go ahead and go back to my more stylized faceups. Of course there are still areas that need work but I think for now I am capable of doing natural bare faced looking faceups.

First Volks!

Volks is one of the main BJD and garage kit companies out there and is well known for the quality of their resin. I've always loved Volks garage kits but the price for the BJDs have always frightened me away, though to be honest I'm not a big fan of their sculpts. However, amongst the ABJD community, Volks is on a pedestal and I jumped on a recent ebay auction for an old damaged Volks MSD. I have no intentions of keeping her though. I really just want her to see if I can bring a doll back from sun damage and mistreatment.

So here are her box opening pics. I made a video but I'm having trouble uploading. I will update with it soon.

She is a Volks Megii in Oldskin. She was made in October 2002. Here is her box with all the papers. (Excuse my messy work table. Little Hani and Mars are peering out.)

Compared to my D.I.M. Happy girl (Peyton but she needs to be resculpted.)

She is definitely yellowed with some random weird blue stains.

She isn't missing any toes, but her pinky toes are sculpted so that they curl underneath. This is normal for old volks dolls before they updated their body sculpt.

Random pink stains from body blushing and you can see the blue stains all over her body.

The seller did not mention the broken and repaired finger. I wish they did but considering I got it for such a low price, it's to be expected.

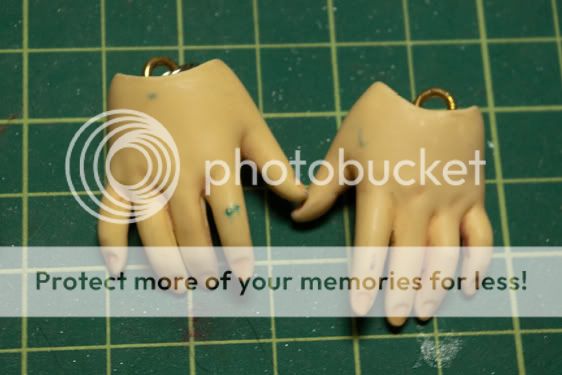
Her face is in okay shape. There is some staining and it looks like someone tried to sand her to remove her faceup where her eyebrows are. This is something that boggles my mind since there are much better ways to remove a faceup without marring the sculpt. Overall though, her face is intact and no features have been sanded away.
This is the interesting part. Looks like the previous owner (I'm the third) somehow let this get into their pet's maw. It's been chewed on and there is some sort of sticky substance on it.

All in all, not in that bad a shape. There are no magnets in the headcap so I will install some and try to reduce and even out her yellowing after I clean her up. This is a photo of her after I took off most of the dirt and old paint. As you can see, no need to sand off the paint. Just use some Winsor Newton Brush cleaner. You can also see the discoloration. From what I can tell she was posed in a sitting position with her right side toward the window as her right side is much more yellowed than her left side. She was pretty much kept nude as her yellowing exist all over her body and it's pretty obvious it is from sun exposure. Her back is almost unyellowed except by the minute light bounced back from whatever surface was behind her. You can see that her armpit and inside of the headcap is pristine since there was no light exposure while everything else is yellow. Let this be a lesson to everyone. Keep your dolls away from light! I can't understand why someone would spend $400 on a doll and not keep it in good condition.